Fixing The Low End In Your Studio Without Knowing Acoustics
I’ve realized that a lot of you guys are having trouble with the bass in your studios, making mixing the low end feel like a guessing game sometimes.
Believe me, I’ve been there.
One time in particular is burned into my memory. I tried to show off this sick tune I was working on to my friends a few years back. I had slaved away on it for hours! This was gonna KILL. I just knew it.
So we’re sitting there, listening to some DJ mix, when I decide the moment is right. I start the track, the intro passes, into the first break, as it builds up to the drop I’m thinking “I can’t wait to see the look on their faces!!”
OH GLORY TO THE KICK ASS PRODUCER OF THIS SICKEST OF ALL DROPS!!
And then…
Nada. Silch. Nothing.
No bass at all…
What the hell???
It PALED in comparison to the DJ mix we were listening to before!! But how could that be..? It completely wrecked my speakers when I was listening to it back home!!
WTF?
Of course, no glory…
Damn.
That experience started me on a journey that hasn’t ended to this day…
The Hunt For The Perfect Bass
Now, many years later, with hundreds of mixes under my belt, regularly hitting the Top10 charts, tracks that generate millions of plays for my clients, designing sound systems for one of Berlin’s most prestigious clubs, studying book after book after book, and many, many home studios measured, designed and treated, I finally have a method that I know I can trust.
A system that allows me to get the bass right from the start, that I never have to second guess.
I understand the underlying principles, that repeat themselves every time, no matter what room I work with, it doesn’t matter what shape or size.
But what’s most important is how it made me feel about my work.
No more insecurities about thinking I got it right, only to find out on my kitchen stereo that the kick is super boomy, or the bass suddenly disappears.
No more going back to the studio and making tweaks that ‘should’ fix the problem but I can’t actually hear the change while I’m making it.
No more awkward conversations with my clients about if I deliberately made the mix so light in the low end.
Whenever I go in the studio, I know I can mix the low end without having to think about it. It WILL translate. To hit that perfect sweet spot between punch and body while making my mixes sound loud, open and detailed.
You can get that too!
It all starts with hearing the low end properly. To find that spot in your room where the low end comes together in just the right way to tell you what you need to know.
The sonic balance that allows you to intuitively make the right decisions.
It’s sort of like building the foundation of a house. Build it right, and your house will stand strong in wind and rain for years to come. But build it wrong, and you’ll constantly be fixing cracks, holes and dampness with expensive repairs.
It’s the room acoustics equivalent of “get it right at the source”.
So I thought I’d share this little trick I’ve developed over the years, treating rooms in various shapes and sizes.
It’s what I always do first thing when treating a studio, and always creates a big „woah“ response from my clients.
All it takes is your ears and about an hour of your time.
It’ll work in both treated and untreated rooms, although if you have bass traps, it’s best to have those installed already.
I call it the Bass Hunter Technique:
Pick three songs that you know in and out, in different keys, covering the entire low end spectrum.
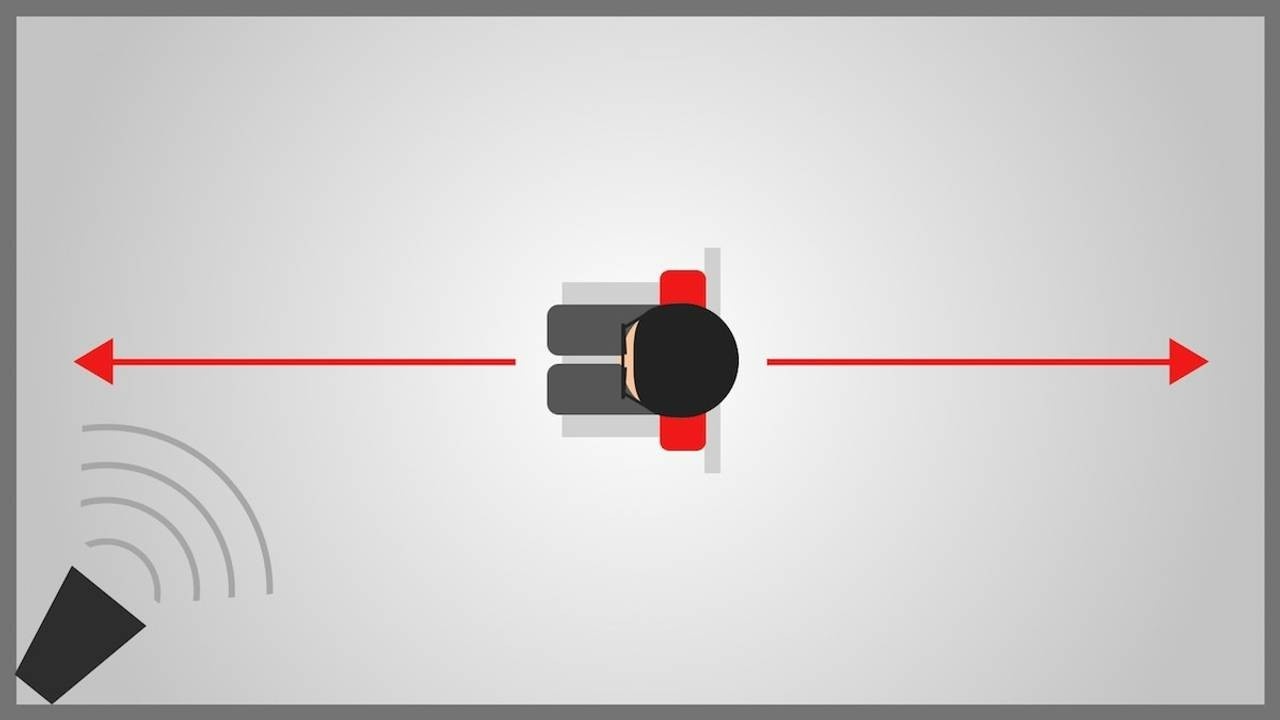
Put one (!) of your speakers in the corner of your room on the floor close to where your setup will hopefully end up. Set all the EQ settings on the speaker to flat. Disconnect the other speaker.
Play through the songs multiple times, switching between them. Set the volume at a comfortable level so you can hear the low end properly.
The Idea Is To Find The Spot In The Room That Has The Best Compromise In The Low End Between All The Songs
- Sit in your chair. It helps if it has wheels. Make sure your head is at the same height you typically work at.
- Move to the longest center axis of your room so you are half way between the left and right walls.
- Now roll slowly along this axis all the way from one end of the room to the other. Close your eyes and pay attention to the low end only. The mids and highs won’t sound great, but that doesn’t matter at this point.
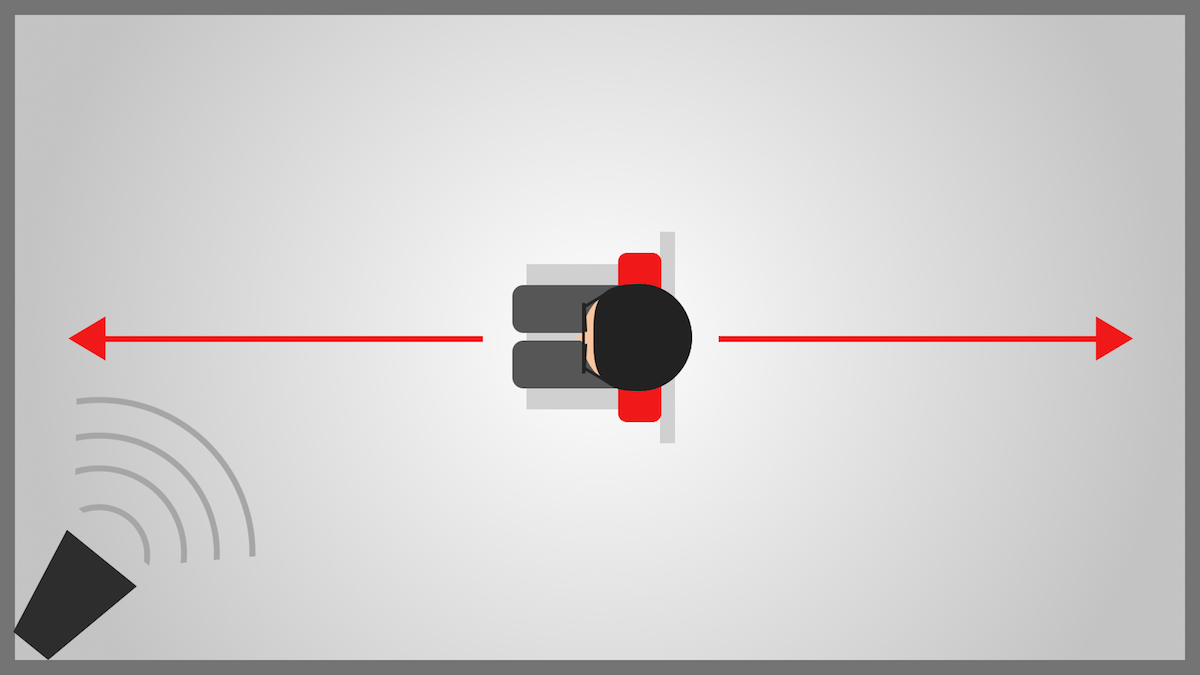
- Listen to the balance between the kick and the bass while you are moving, pay attention to how it changes.
- Where in the room is bass missing? Where is there too much? Is it too punchy? Or too subby?
- Really take your time with this, it’s where the meat of the matter lies. Experiment, dig deep. Try and get as detailed an understanding of the low end as possible.
- Move right up to the walls with your face, that’s what over-pronounced sub sounds like! Now, as you move back into the room, where do you still hear that sub, but the punch comes back in?
- For each track, make a mental note of where the low end sounds the best to you. Be accurate, half a foot or 10 cm can make a huge difference!
- Once you’ve identified the ideal spot, mark it on the floor with tape. This is the position where your head will end up as you work.
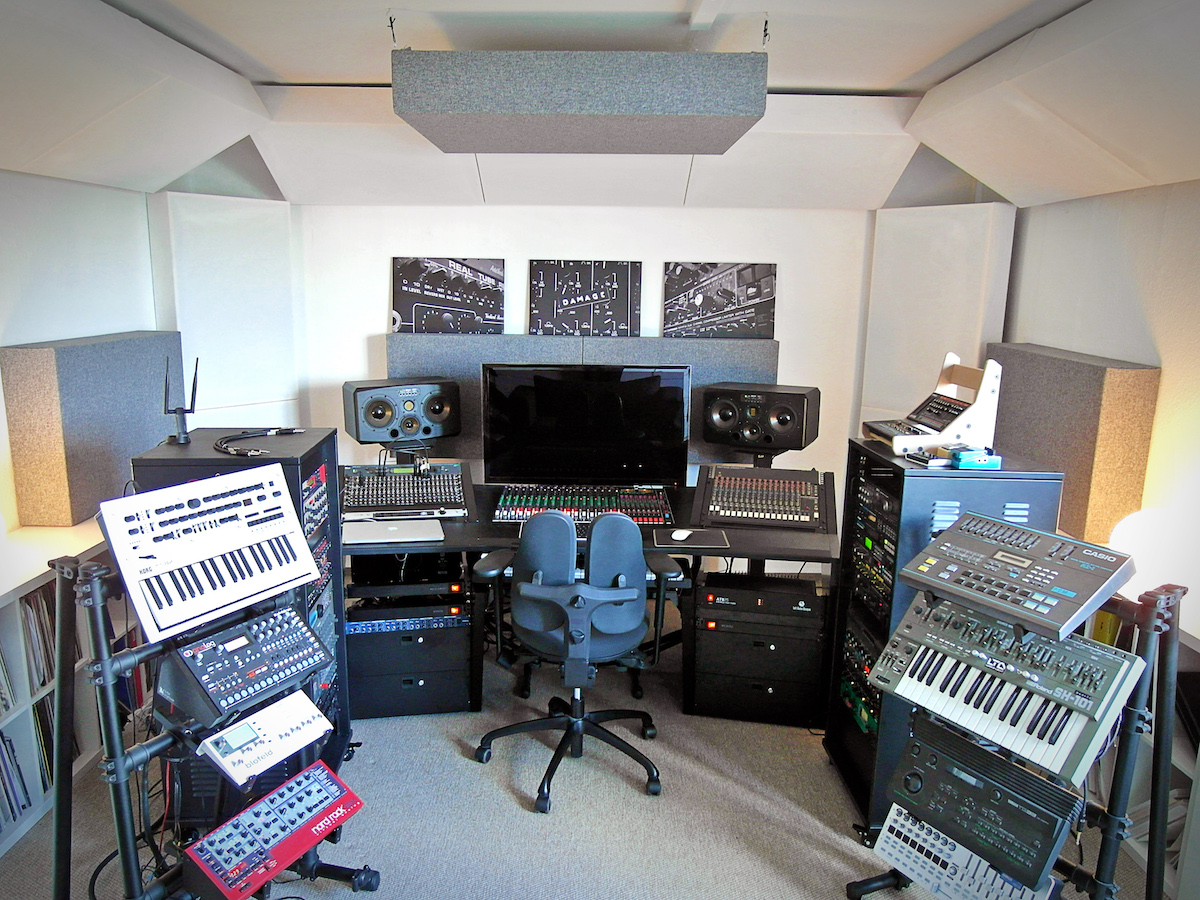
- Now do the standard equilateral speaker placement around this spot. Basically you want to build your entire setup around this position. I’ll go through the details of stereo optimization in the near future, but for now there’s a great article on SoundOnSound that will get you 80% there.
A Few Notes to Be Aware Of
It is very possible that you’ll end up with a spot very close to the wall, especially in small rooms. This is perfectly normal. It might also be somewhere completely different than you expected, or just a foot from where you’ve been sitting so far.
WELL, NOW YOU KNOW. ?
IF THAT’S WHAT IT TAKES, MAKE IT HAPPEN!
If you can’t find a spot that sounds particularly great on your chosen axis, pick another and try again. Is your room is simply too irregularly shaped? Start experimenting by moving off the center axis. You’ll compromise left to right symmetry, but that is easier to fix than an unbalanced low end.
In any case, I can assure you, there will be a spot in your room that offers a good compromise between all the songs.
And if you’re wondering about using a sub, that same spot will also give you the ideal location to tie that in. I’ll cover that in detail later, for now you can follow the process described here.
The reason this procedure works so well is that you are effectively optimizing your position within the standing wave pattern of your particular room. Not the theoretical one predicted by simple geometry, but the actual physical manifestation. Including all the quirks that tend to mess up predictions. Windows, crooked walls, materials etc. It also takes into account your personal taste, so it’s sort of like EQing your speakers at the same time.
DOUBLE WHAMMY!
Placing the speaker in the corner during the procedure has the effect of exciting all the standing waves maximally. It’s like a worst case scenario. Or best case, depending on who you ask. ?
More importantly it will ensure that you don’t end up placing your sweet spot in a massive cancellation hole of one of the standing waves.
Of course ultimately the speaker won’t remain in the corner and won’t end up exciting all the room’s modes maximally. The interaction between the two speakers also has a dampening effect on certain modes. But neither of these are as consequential as is getting the full effect of sitting in a cancellation node.
Basically a mode that isn’t excited can neither have a strong additive peak nor a strong cancellation null and so its effect will be benign at best.
There are other factors that will mess with your low end, like reflection induced comb filtering (sometimes called SBIR, floor bounce, etc). But these are better addressed by means of careful absorption and subwoofers.
Little known fact: This actually becomes easier to do the closer your speakers are to a wall, since the effect moves up in frequency. So there’s actually a benefit to setting up closer to a wall!
But ultimately, if you don’t get the position of your sweet spot right from the start within the standing wave pattern of your room, you’re going to have a hard time fixing your low end with acoustic treatment.
It’s The Foundation On Which You Build Your Low End Response. It’s Where The Big Wins Are.
Ever heard of the Carl Tatz’ Phantom Focus System? He implements the same idea, just with a ton of technology behind it.
You may actually find that you don’t need all that much bass trapping once you’re sitting in the right spot. Our brains are remarkably good at adapting to a certain frequency response.
Once it’s in the ball park, your brain will do the rest.
So the next time the low end in your mix is once again going haywire, maybe what you should be asking yourself is this:
Am I really sitting in the best possible spot in my room?
It may be that you are literally only a few inches away from success.
Now to make it easier to follow, I’ve collected the steps of the Bass Hunter technique in a single page PDF for you. I’ve also included a few more tips on how deal with asymmetrical rooms and what a “good” low end actually sounds like.
Just leave your name and email below and I’ll send it right over.